RTFM
Index
Welcome to Necc's Homeserver
Welcome to Necc's Homeserver, a private digital hosting environment dedicated to serving family, friends, and selected internet communities.
What is this server?
Think of this server as a small, private corner of the internet. It runs 24/7 to host websites, files, and applications that we can use together. It is not a big company; it is a personal project run by an individual to help people connect and share resources easily.
Legal Notice and Terms of Access
Please review the following terms carefully before proceeding with registration:
-
Open Registration: Account creation is currently open to all.
- Private Resource Status: This infrastructure is a private asset, not a public utility or commercial service.
-
GDPR Applicability Note: As a private host operating for non-commercial purposes, this server may fall under the "household exemption" (Article 2(2)(c) GDPR) for activities strictly limited to personal or family life.
However, because this server extends access to broader internet communities, full GDPR compliance cannot be guaranteed. -
Big Tech vs. Private Hobby: Large technology companies and data brokers make billions of dollars by collecting your personal data, tracking your every click, and building detailed profiles of your habits. They sell this information to advertisers and use it to manipulate your behaviour (for example, by showing you content that keeps you angry or addicted so you stay on their platforms longer and see more ads). Some data brokers even sell this data to insurance companies, employers, or political campaigns. In some US retail stores, they adjust prices real-time based on your general income and wealth.
-
This server is different. We do not sell your data. We do not track you for profit. We do not use algorithms to manipulate what you see or how you feel. We do not show you ads. Your data stays here, used only to provide the service you need.
-
Your Rights: While we respect your privacy and protect your data, this is not a large commercial company. We cannot guarantee all formal GDPR rights (like filing official legal complaints to data authorities) in the same way big tech companies do. We handle your data with care as a private hobby project.
-
-
Privilege of Access: Usage of this server is a privilege granted by the owner.
-
Access Can End Anytime: The owner can remove your access at any time, without warning and without needing to give a reason. This is a private space, and the owner decides who stays.
By registering, you agree that this is a casual, private service. We do our best to keep things running, but we cannot guarantee permanent access.
Reasonably, you can expect 99.9% uptime with scheduled daily small downtimes at 4:00 am.
Next Steps
To begin your journey, please proceed to the Registration Guide for detailed instructions on creating your account.
Once registered, refer to the Services Overview to explore the available tools and applications.
You may use this link to see all the manuals on this server.
If you have any questions, feel free to ask the server owner directly.
Registration Guide
This page will guide you step-by-step on how to create your account.
What is Authentik?
We use Authentik to manage logins. Think of it as a single master key for all services. Instead of remembering different passwords for files, chat, or apps, you log in once here, and Authentik automatically lets you into everything else. This is called Single Sign-On (SSO).
Step 1: Go to the Login Page
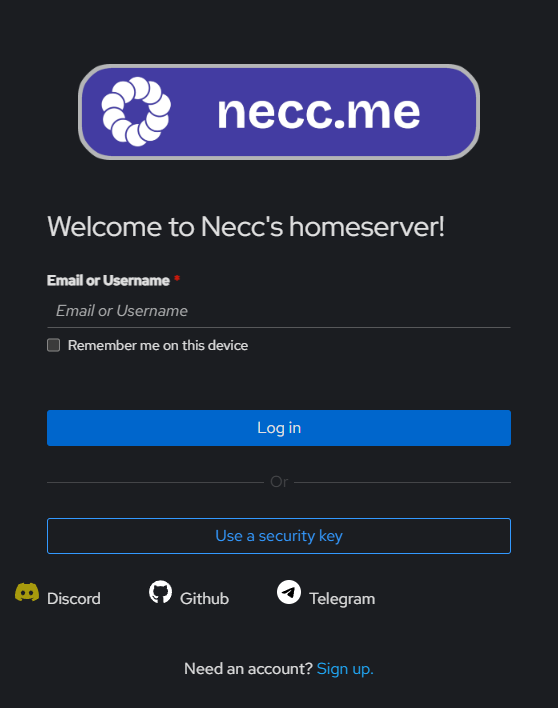
Open your web browser and visit: auth.necc.me
Step 2: Start Sign-Up
On the main page, look for the Sign Up link at the bottom.
-
Standard Sign Up: Click "Sign Up" to create a username and password.
-
Fast Sign Up: You can also sign up instantly using Discord, GitHub, or Telegram.
Step 3: Enter Your Details
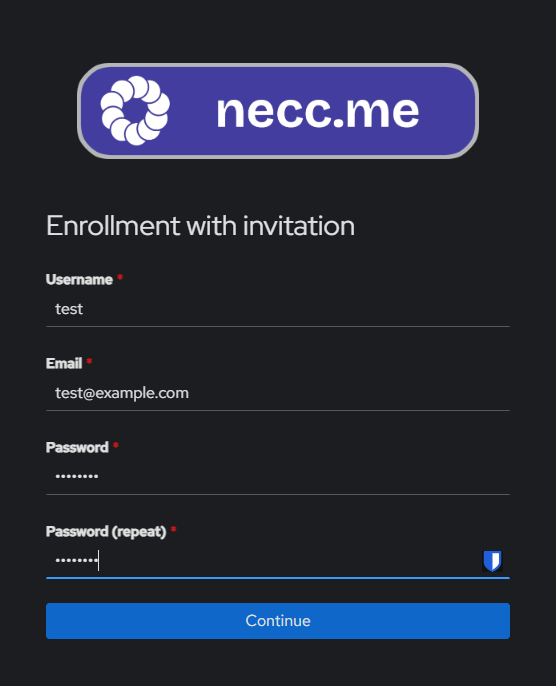
If you chose standard sign-up, fill in the form:
-
Username: Choose your name for the server.
-
Email: Enter a real email address. You will need to open this email later.
-
Password: Create a strong password.
🔒 Security Note: The system automatically checks if your password has been leaked in known data breaches. If you try to use a compromised password, the system will warn you and block the registration. Please choose a unique password.
Step 4: Confirm Your Email
After you click "Continue":
-
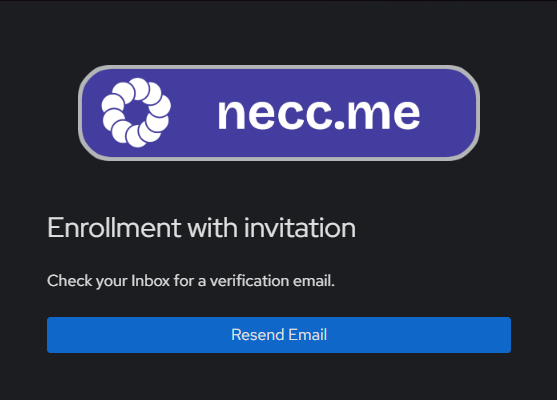
Check your email inbox.
-
Open the email from (random string)@send.mail.necc.me
-
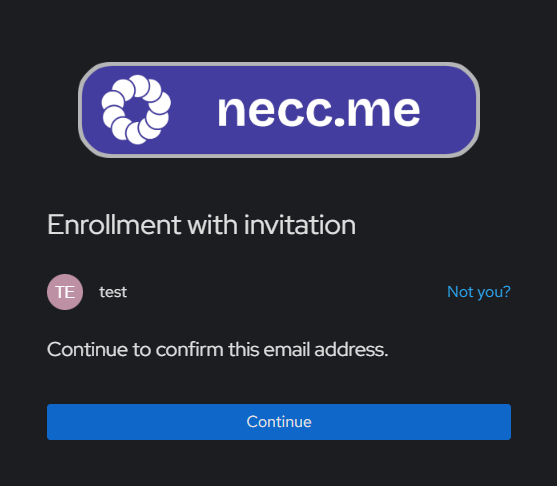
Click the Confirm Account link inside. The link is valid for 30 minutes.
This step verifies that the email address belongs to you.
Step 5: You Are Ready!
Once confirmed, your account is active. You can now log in at auth.necc.me.
⚠️ Important: Multi-Factor Authentication (MFA)
To keep your account safe, Multi-Factor Authentication (MFA) is required.
-
First Login: You are allowed to log in one time using only your password.
-
Next Logins: Immediately after your first login, you must set up MFA. You will not be able to log in again until this is done.
👉 Please go to the MFA Setup Guide to learn how to set this up.
If you have trouble, contact the administrator.
MFA Setup Guide
This page will help you set up Multi-Factor Authentication (MFA).
Think of MFA like a double lock on your door. Even if someone steals your key (password), they still cannot get in without the second lock (your phone or security key).
Step 1: Open Settings
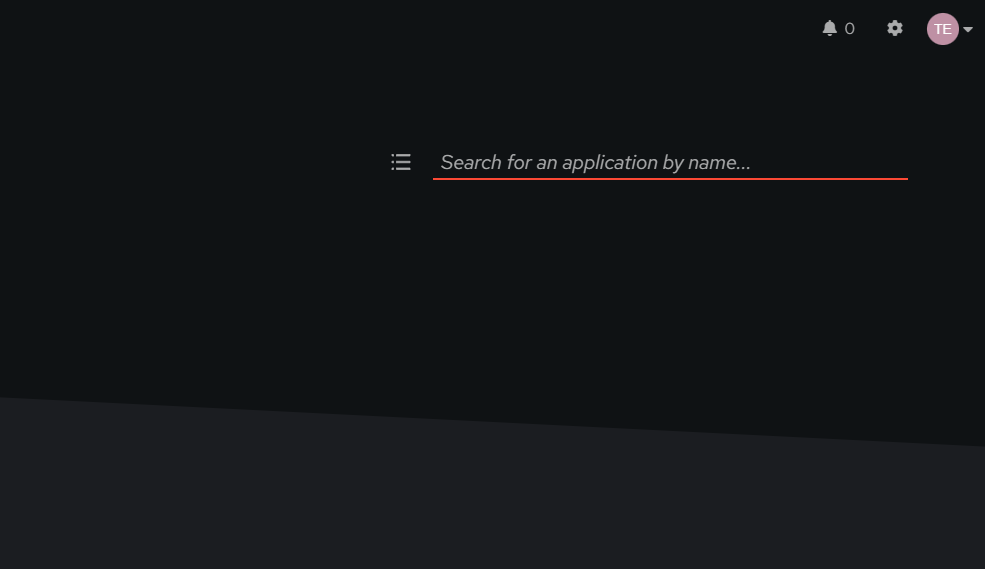
After you log in, look at the top right corner of the screen. You will see your username. Next to it, click the Settings icon (it looks like a small gear or cogwheel ⚙️).
Step 2: Go to Credentials
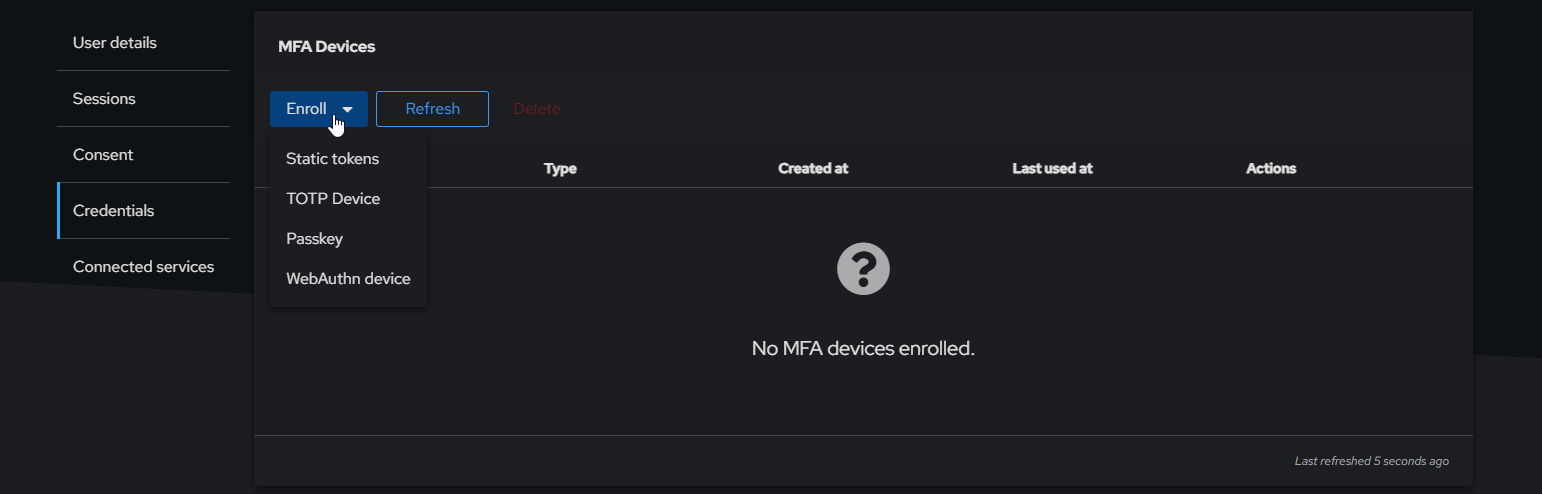
Next to the "Credentials" title, you will see a button that says Enroll. Click this button to see a list of options. You can choose one or more methods to secure your account.
Step 3: Choose Your Method
Here is what each option means in simple words.
💡 Tip: We have a password manager called Vaultwarden (like Bitwarden) hosted on this server too! It can store your passwords and backup codes safely. You can find it here: [VAULTWARDEN]. If you use Vaultwarden, it can also generate your TOTP codes for you!
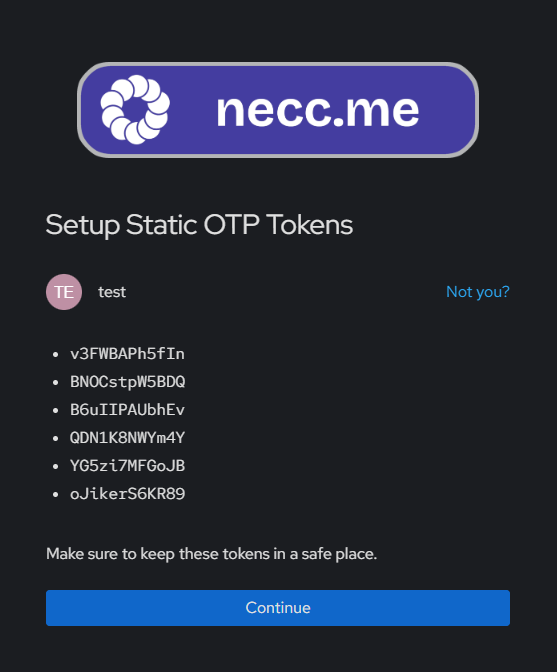
1. Static Tokens (Backup Codes)
-
What is it? A list of special one-time codes.
-
Why use it? These are emergency keys. If you lose your phone or your main method breaks, you can use one of these codes to get in.
-
How to set up: Click the option, download or copy the list of codes, and save them in a very safe place (like inside Vaultwarden or on a printed paper). Each code works only once, this is really just an emergency solution!
-
Vaultwarden Tip: You can save these codes as a "Secure Note" inside your Vaultwarden vault.
2. TOTP Device (Authenticator App)
-
What is it? This connects to an authenticator app on your phone OR your password manager. It shows a new 6-digit code every 30 seconds.
-
Why use it? This is the most common method for daily use. It is very reliable.
-
How to set up:
-
Select this option from the Enroll drop down list.
-
A QR code will appear on your screen.
-
Open your authenticator app (or Vaultwarden) and scan the QR code.
-
Type the 6-digit code shown in your app into the box on the screen.
-
-
Vaultwarden Tip: If you use the Vaultwarden browser extension or mobile app, you can often scan the QR code directly into your login item. Then, Vaultwarden will auto-fill the code when you log in!

3. Passkey
-
What is it? A modern way to log in without typing codes. It uses your device's built-in security, like your fingerprint, face scan (Face ID), or screen lock PIN.
-
Why use it? It is the easiest and fastest way to log in.
-
How to set up: Select this option and follow the screen instructions to use your fingerprint or face. Your browser or phone will guide you.
4. WebAuthn Device (Security Key)
-
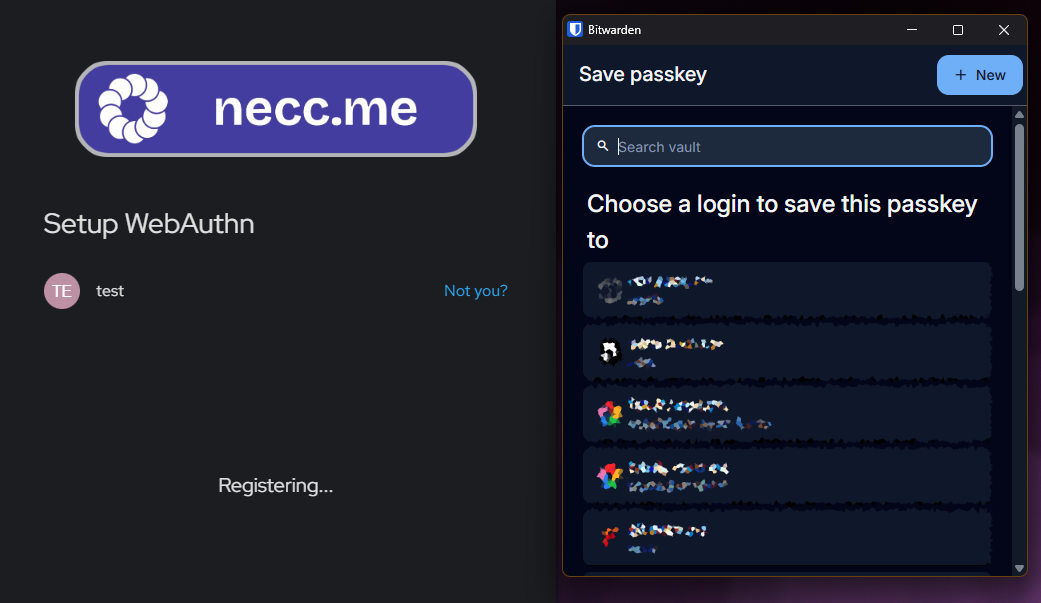
What is it? This is for physical hardware keys (like a YubiKey) that you plug into your computer or tap on your phone.
-
Why use it? If you have a special USB security key and want the highest protection.
-
How to set up: Plug in your key, select this option, and touch the key when it flashes.

Step 4: Finish Setup
-
Select the option you want from the list.
-
Follow the instructions on the screen (as described above).
-
Once finished, the system will confirm your device is added.

You are now fully protected!